
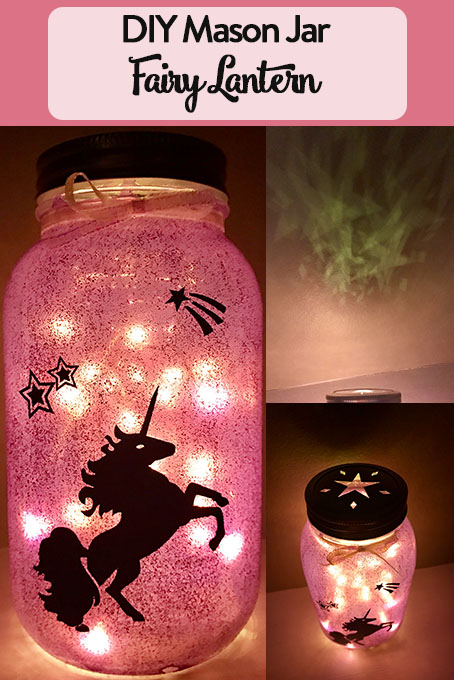
Mason Jar Fairy Lantern
Bring a little bit of magic and whimsy into your home with a beautiful lantern. My daughter is definitely a girly girl. She loves unicorns and rainbows and glitter and the colour pink. Fairy jars are typically just that: a jar featuring a fairy. For my five year old daughter, I decided to alter it exactly to her liking. So technically, this is a unicorn lantern but I think it still contains the same magic as a mason jar fairy lantern.
What You’ll Need
- Bernardin 1L Mason Jar
- Transform Mason™ Metal Star Lid
- White glue
- Extra fine glitter (either silver or a matching colour)
- Food colouring
- Foam paintbrush
- Permanent adhesive vinyl in black (aka Oracal 651 or similar)
- Transfer tape
- Cricut or similar device
- If you do not have a Cricut, arm yourself with a template, small scissors and some patience!
- Twine or ribbon
- Battery-powered light strand
Invite Magic In
This isn’t a project you can complete in one sitting as it requires several layers of “paint” in the form of white glue. Get a small bowl and pour in some glue. Add a few drops of food colouring (I used about 6 drops of the purple colour from the neon pack). Blend it all together and paint a thin layer onto your jar with the foam brush. Allow it to dry at least 1 hour. Apply a second coat and allow to dry. For the third coat, stir in a healthy dose of your glitter and add another layer to the jar. After letting dry once again, apply your fourth coat of the glue, colouring and glitter mixture. Let dry overnight.
Customization

While you’re waiting for those many layers of glue to dry, start preparing your design. I simply used files available to me in the Cricut Access software: the unicorn and a variety of stars. This is where you can have some fun. You may want a fairy and some flower shapes. Maybe your little one prefers rainbows. Let your imagination run wild. Your focal point (in my case, the unicorn) is about half the height of the jar. I used black permanent adhesive vinyl (aka Oracal 651). The designs were cut and weeded, ready to be applied to the outside of the mason jar once dried.
Be sure to press your decals down very well. I used my scraper to burnish them on. Once I removed the transfer tape, I used my thumb to really press the vinyl onto the surface. Due to the glitter, you will have many lumps & bumps but these will not be seen once the jar is light.
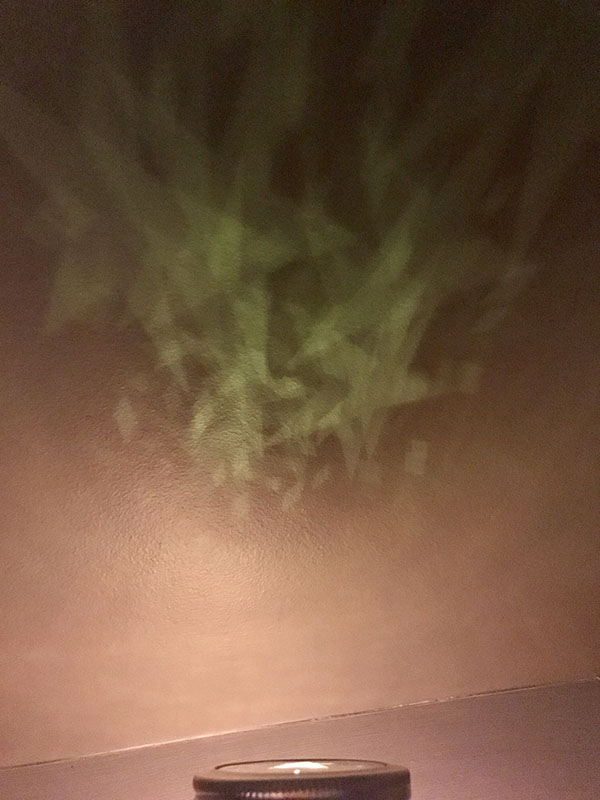
Starlight, Star Bright
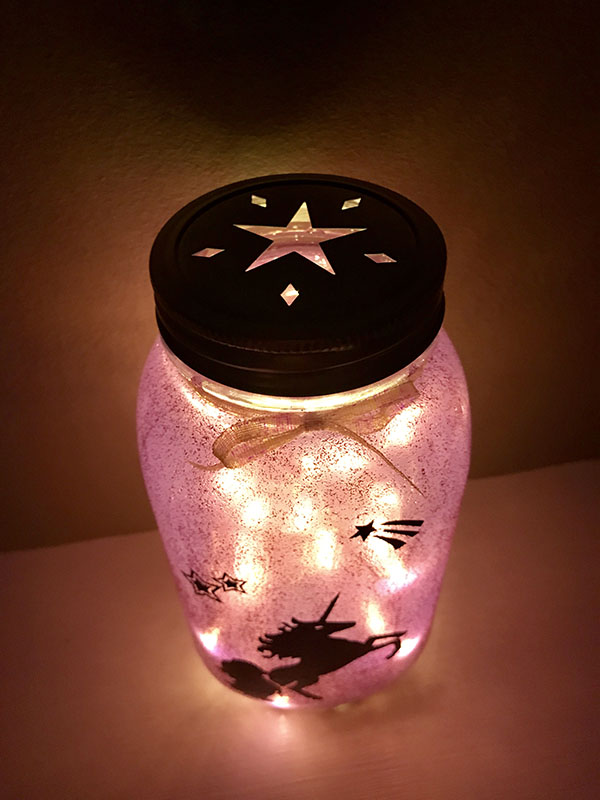
Remove the lid of the jar, discard the snap lid and place your metal star lid inside the ring. Drop your battery-powered light strand into the jar and place the lid on. Tie some pretty ribbon or twine around the next of the jar. Another nice touch would be to add a Metal Wire Handle to hang it. The star lid will shine a smattering of stars all along the ceiling which your little one is sure to love.
Check out more of our DIY Crafts for Kids.
Looking for more Bernardin Mason Jar crafts? We’ve got you covered.
Andrea can always be found with a new craft in front of her, a form of technology on her right and a coffee on her left. This is how she survives suburbia with her two crazy toddlers in tow.
Leave a Reply