
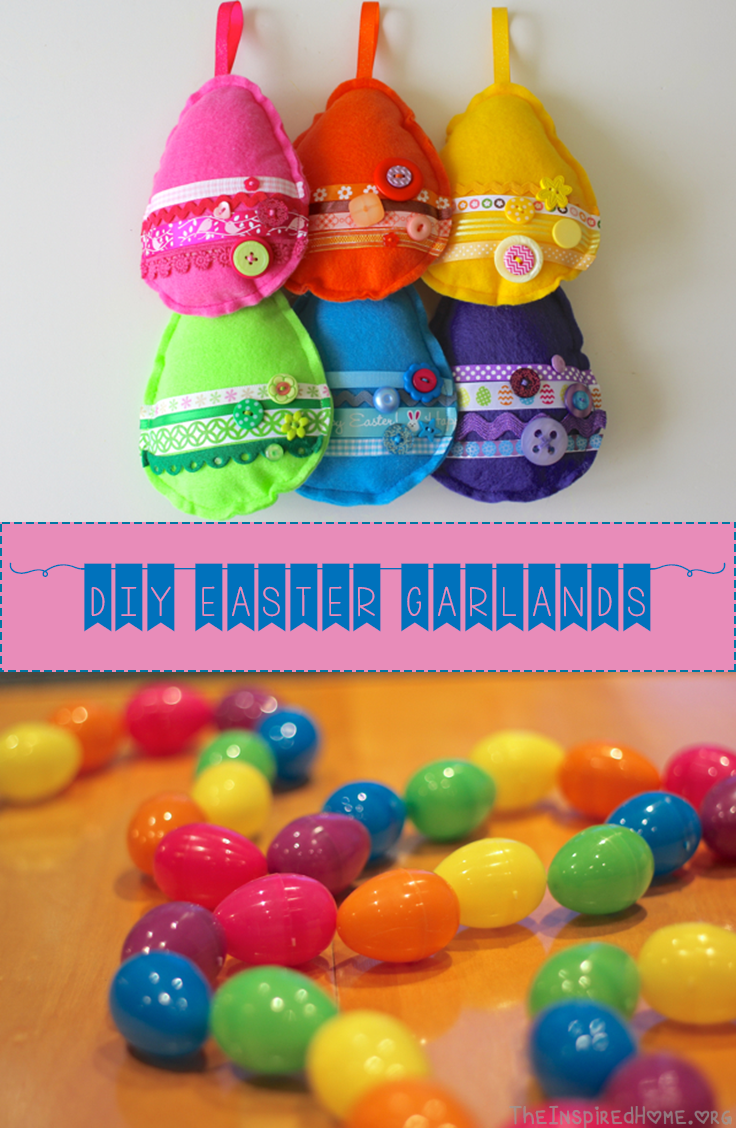
There are a variety of ways to make a DIY Easter Garland to decorate your home with. Here are two very different ways: one is quick and simple using little more than yarn and some plastic Easter eggs. The other garland requires more effort but I think the felt Easter eggs are well worth the time and patience required. Both garlands can be altered to suit your decor. Check out the step-by-step instructions for both styles below!
DIY Plastic Easter Egg Garland
This garland is fun and whimsical and easy to do. It also costs next to nothing! Plastic Easter eggs are available everywhere, including your local dollar store. They come in a variety of sizes and colours allowing you to customize the garland to exactly the style you want. I wanted to hang the garland from the mirror over my fireplace mantel so I chose to use very small, colourful eggs. Using larger pastel eggs will give you a totally different look – match it to your decor! This is a great craft to do with kids. Simply use a finer string or even fishing wire and have them thread the eggs. Using a needle with a rounded end is also helpful if you feel they are old enough. This DIY Easter Garland will spruce up your home quite nicely!
Items Required
- Plastic Easter eggs
- Yarn, ribbon or string
- Needle (optional)
How-To
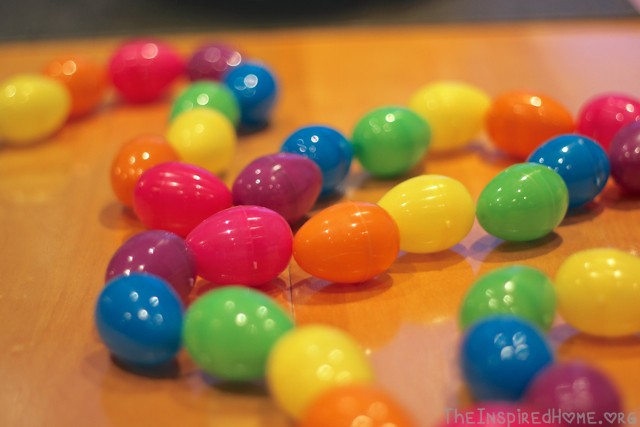
My eggs were so tiny that they only had one hole in each end. Larger eggs typically have two holes in each end. Having only one hole that was off-centre made for a whimsically wonky garland. I simply thread my yarn through the needle, ran the needle through each end of the egg in a rainbow colour pattern and my garland was complete. I used 54 eggs in total. For larger eggs, you will probably want the same amount of eggs as this will make a longer garland. My garland was quite short but this was perfect for where I wanted to place it.

When using larger eggs with two holes, I suggest using two strands of ribbon/yarn/string for a more balanced look – one through the holes on the left, the other through the holes on the right of each egg. Threading the needle can be difficult but once it’s in, it’s not going anywhere. It’s much easier to pull the needle through the hole than it is to try and get the end through each hole.
DIY Felt Easter Eggs
This DIY Easter garland requires more time, effort, planning and preparation than some other garlands out there but I think it’s well worth it. You can take your time with this project or you can get through it in about 2 evenings. It’s a great craft for older kids as well. These beautiful felt Easter eggs can be put on display year after year in many locations throughout your home.
Items Required
- Egg template (instructions below)
- Felt in as many colours as you like, 1 sheet per egg – I made 6 eggs in a rainbow of colours
- Coordinating or contrasting ribbon
- Coordinating or contrasting buttons
- Matching thread
- Fiberfill (aka batting or stuffing)
- Ribbon for hanging
How-To
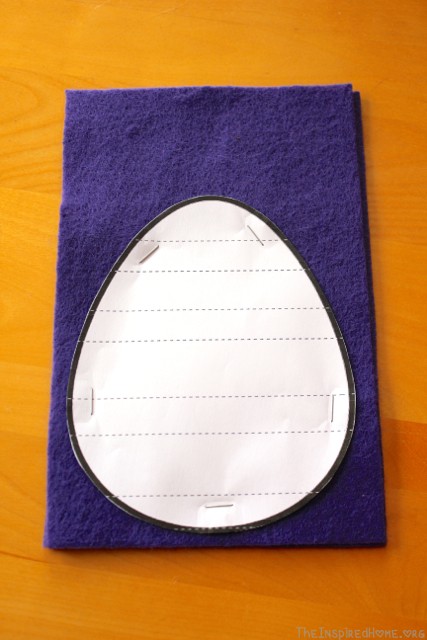
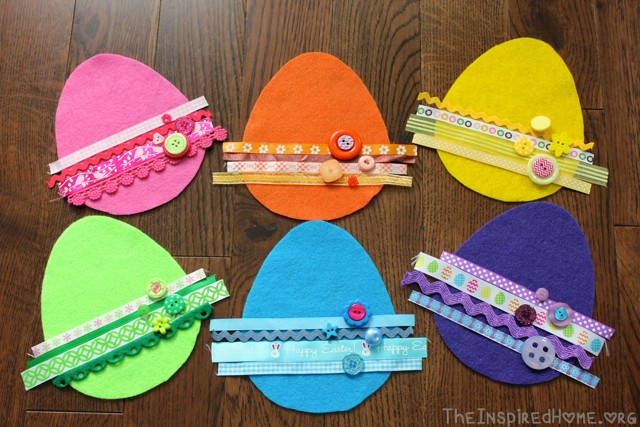
1. First you will need an egg template. To do this I simply search Google Images for ‘egg outline‘ and choose the shape I like best. Copy the image and paste into your word processing software. Ensure that the zoom is set to 100% – this is usually found in the bottom left or right corner. Lay a light-coloured piece of felt on the screen and adjust the size of your image until it fits half of your sheet of felt (assuming you are using 9×12 felt). Print and cut out the shape. Cut all of your felt in half. For each egg, staple your template to the top of 2 halves of matching felt. Cut out the egg shape. Staples will not leave a mark on the felt once removed – simply rub your finger over any holes that might remain.
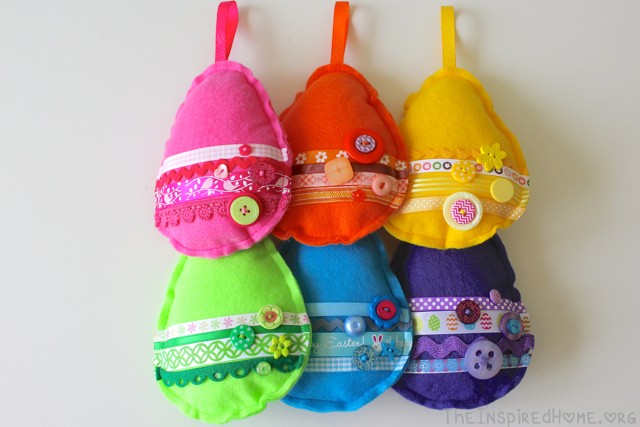
Once you have all of your egg shapes, it’s time to decide on your ribbon layout. I chose a coordinating ribbon scheme using a variety of shades for each egg. A mix of ribbon or contrasting colours will give an entirely different look – do what makes you happy! Lay your ribbon onto each egg and cut the pieces just a bit longer on each side. Next, decide on some buttons or other embellishments. To give each egg a little bit of pop in my coordinating colour scheme, I added one contrasting button to the centre of a larger button. Affix your ribbon to each egg using an adhesive of your choice – I had glue dots on hand but in hindsight I would have used a fabric adhesive (which I purchased after my sewing machine got angry at the glue dots). The ends of the ribbon will be sewn on; however, you need to secure the centre of each ribbon with something. Once secured, cut away any excess on the ends to line up with the edge of the egg. To keep ribbon from fraying, slightly melt the ends using either a lighter or sodering gun.
Pin a loop of ribbon to the top of each egg for hanging (about 2″ long – folded in half). I chose to machine sew my eggs. Felt is very, very easy to hand-sew and I think it actually looks nicer than the machine-sewing. This is also one of the first projects I took on with my new sewing machine so I didn’t really have my skills down yet. Make sure to leave a 1-inch hole to stuff with fiberfill. Err on the side of over-stuffing your eggs – I think the ones that had more stuffing in them look nicer. Sew your opening closed once full of stuffing.
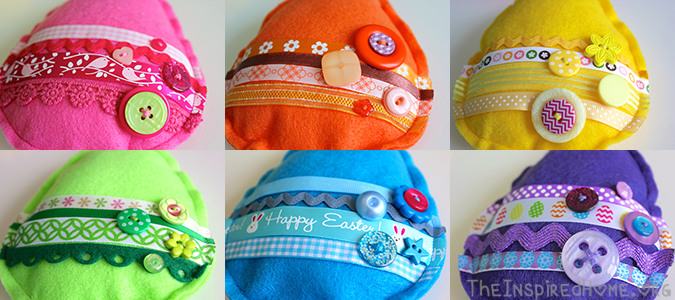
Voila! Hang your Easter Eggs for everyone to see. I hung each egg individually from my mantel but you can put them onto a string or ribbon and hang wherever you like in your home. Another option is to use a longer ribbon loop to hang the eggs from a doorknob.
Hop on over to our Pinterestfor more Easter inspiration!
Follow The Inspired Home's board Easter on Pinterest.
Looking for more great crafts, activities, and foods to celebrate Easter? Check these out.
Now, go check out Andrea’s Easter Mantel Decor featuring this beautiful garland!
Andrea can always be found with a new craft in front of her, a form of technology on her right and a coffee on her left. This is how she survives suburbia with her two crazy toddlers in tow.
Leave a Reply