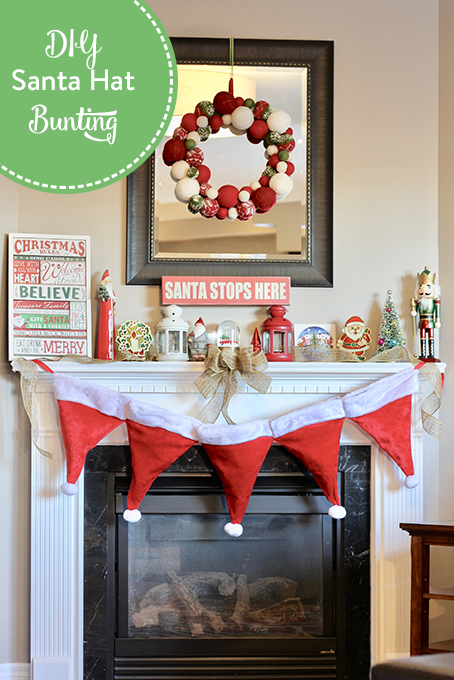
Super-Easy Santa Hat Bunting
This DIY Santa hat bunting has got to be one of the easiest sewing projects I have ever done. I will tell you the secret: dollar store Santa hats. Oh, you thought I made the Santa hats? Oh no friends, I bought them. And sewed them together. I know, right? I have become a little bit obsessed with bunting lately since they are so easy to make (check out my Halloween bunting). Up next on my list is the Christmas version of that Halloween one. But for now, I wanted a quick and simple bunting that I could make during naptime and still have time to drink a coffee and play some Candy Crush before Little J wakes up. And that’s just what I did.
Hooray for Dollar Store Crafts!
- Santa hats – I used 5 which turned out to be the perfect length for my mantel. I splurged on the $1.25 hats that are fuzzy instead of cheap felt.
- 2 x 12″ pieces of red ribbon
- White thread
- Sewing notions (scissors, pins, etc.)
Let’s Get To It
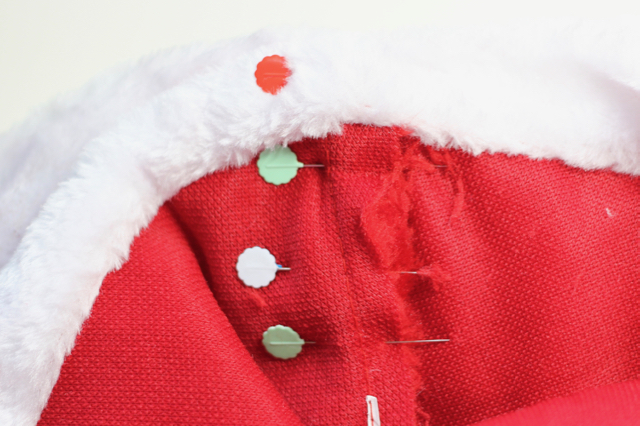
Now don’t go crazy pinning all your hats together, it does require a little bit more effort. My hats had a seam down one side only so I made sure they were perfectly folded in half before pinning. I suggest starting with the non-seam edge on one hat and align it with the seam edge of the next hat – this gives you a guide when sewing. Make sure your white cuffs are folded evenly on each hat so they match up nicely. There’s a lot of fabric going on here so you will probably bend your pins securing them all together.
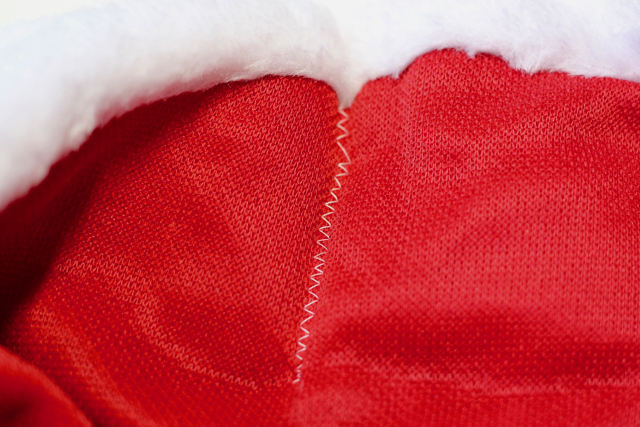
Due to the many layers, if you have a swanky Husqvarna machine like mine, make sure you set the machine to a heavy fabric setting. Next up, select a zig zag stitch. Time to get sewing! Start at the top and work your way down. You will probably have to use a little effort to push the fabric under the presser foot. The picture above is the view inside the stocking – this won’t be visible once hung up. I continued my stitch all the way down to about 1/4″ past the end of the white cuff. Make sure you are keeping both hats open as you are doing the seams or else you will encounter mayhem. Continue this until all hats are attached.
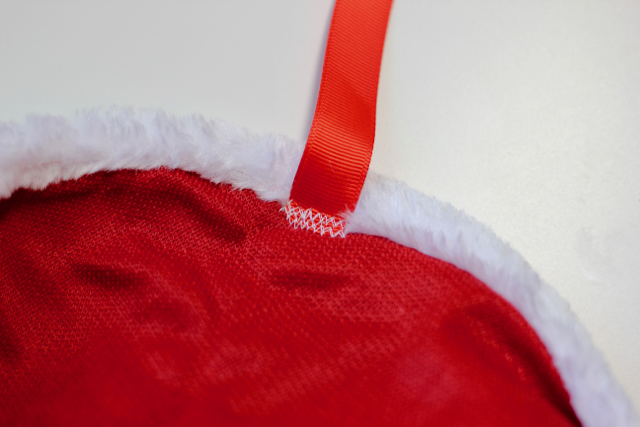
Now it’s time to add a bit of ribbon to hang with. You can opt to make a loop or just leave it long and loose as I did so I can tie a bow if I feel so inclined. Just run a zig zag stitch over the edge of the ribbon a few times, just inside the end seams of each hat.
The Stockings Were Hung By the Chimney with Care
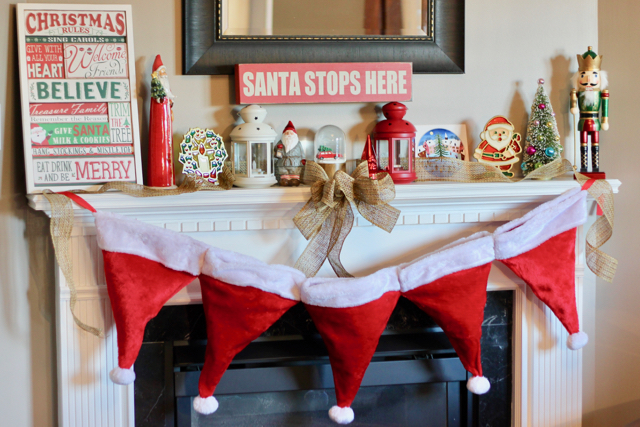
That’s it! You’re done! You go girl! Now it’s time to hang that beautiful DIY Santa hat bunting. You probably noticed my hats look a little full. They appeared a little droopy when I first hung them up empty so I put some plastic bags inside them. Yes, people, dollar store santa hats and plastic bags from the abyss under my sink. No one will no! Unless you confess it to them on the internet….
You can either do as I did or you can add another step to your bunting. It would be just as lovely if you put a bit of cotton batting into each one and quickly sewed the tops of the hats shut. Another option is to use these sort of like stockings! Or go to town with some festive fake flower sprigs. Have fun with it. Tell me how you changed up this Santa hat bunting in the comments below.

Andrea can always be found with a new craft in front of her, a form of technology on her right and a coffee on her left. This is how she survives suburbia with her two crazy toddlers in tow.


Leave a Reply