
Back when we were children, on our birthdays we always waited for the moment after dessert when the Birthday Bag would come out of the closet. It is a large red and white plaid bag with a jaunty navy blue ribbon that would come filled with presents and cards from family and friends celebrating your big day. With a buzz of anticipation, you would shut your eyes and pull out the first item and keep going until your bag was empty.
I’m not sure why this lovely bag (or something similar) did not get applied to Christmas. There was always a large gift for myself or one of our siblings that inevitably would be impossible to wrap. Typically these large gifts would get hidden behind or under the couch.
I hear that in other cultures around the world, instead of wrapping gifts in coloured paper like we do in Canada, they put them in a Santa Sack. I have to say, this makes a lot of sense to this busy parent who has had to put together many large toys. I realize the simplicity, easy of use and eco-friendly nature of the Christmas gift bag.
The price tag of a personalized Santa Sack at $34-49 plus shipping to Canada from Pottery Barn really wasn’t in my budget. So I set forward to make my own Santa Sacks and I want to share the two different ways I came up with. If you’re not a sewer, don’t despair, you can still make your very own Santa Sack with little effort. If you are a sewing maven, congratulations, this a really simple pattern that even a child could handle with a little supervision. Maybe making these together will be your newest holiday tradition!
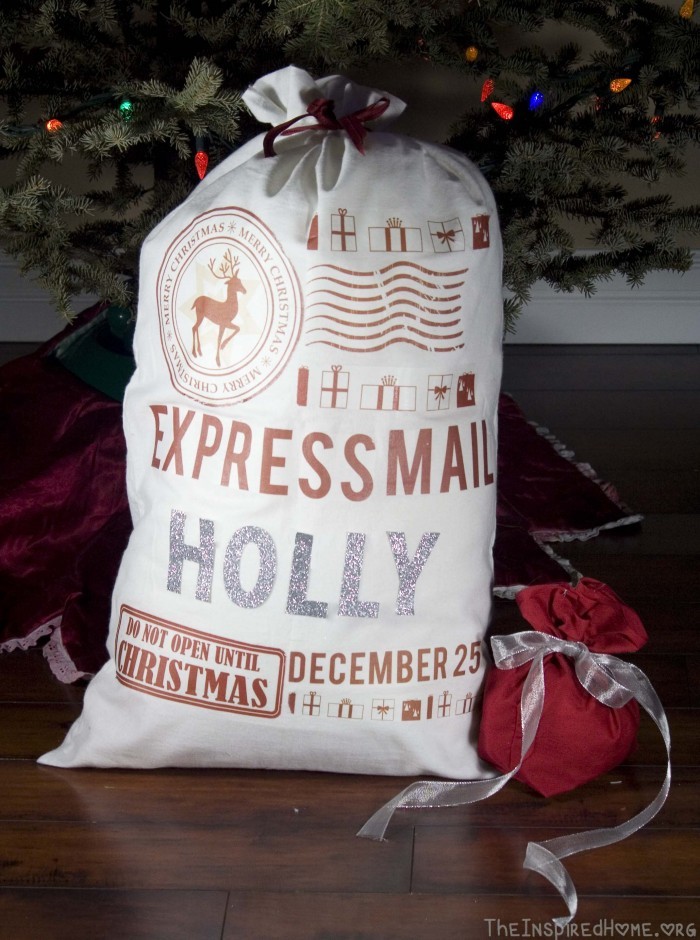
No Sew Santa Sack

Items Needed
- A Fleece Pillowcase – 29×20″ (I got mine at the local dollar store – 2/$2)
- Iron-On Transfer Paper (Light)
- Printable Holiday Decals from the Inspired Home – Page 1, Page 2, Page 3
- 36-40″ of 1″-wide Ribbon
- Iron
- Printer
- Optional: 1 fat quarter of fabric & Heat N’Bond for personalization
Instructions
- Iron your fleece pillowcase so it is flat and does not have any creases in it.
- Print out the Holiday Decals (by The Inspired Home – see Items Needed above) on your Iron-On Transfer paper, using the printer set on MIRROR IMAGE (Note there are 3 different pages to create the look you see).
- Read iron-on transfer instructions, follow them & iron your decals onto the fabric.
- If you wish to personalize your sack, I recommend using 1 fat quarter of fabric, tracing your letters on to it after you print them from the computer, then applying Heat N’Bond. I know it sounds a little daunting but it’s just as easy as Iron-On Transferring. Check out this video for a great step-by-step lesson on how to do it.
- Stuff the presents in your Santa Sack and tie your ribbon to the top.
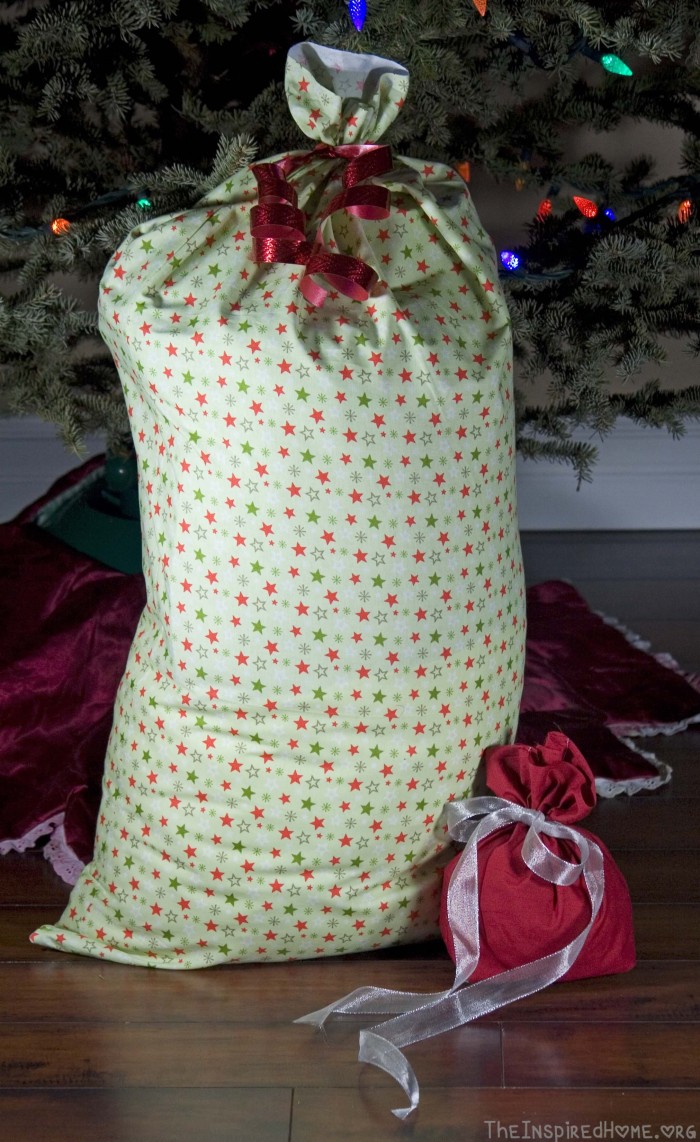
Sew Easy Fabric Santa Sack
Items Needed
- 1 yard of decorative Christmas fabric
- Sewing Machine, Thread
- 36-40″ of 0.5-1″ Ribbon
- Iron
- optional: 1 fat quarter & Heat N’Bond for personalisation
Instructions
- Fold your fabric in half, bad sides (aka not the pretty fabric side) facing out.
- Cut your fabric to the size wanted (mine pictured is 35.5×19″ finished. Most fabric yards are usually 36″, seam allowance was 0.25″). I chose to use the best edge (the one I did not cut) at the top for ease!
- Zig-zag stitch the bottom & sides shut, then cut a 45 degree angle on the corners (careful, don’t get the stitches) then turn right side out.
- You can stitch a 1″ stitch on the back of your bag to hold the ribbon on if you desire (mostly so it doesn’t get lost in the Christmas festivities!)
- If you wish to personalize your sack, I recommend using 1 fat quarter of fabric, tracing your letters onto it after you print them from the computer, then applying Heat N’Bond. I know it sounds a little daunting, but it’s just as easy as sewing the bag. Check out this video for a great step by step lesson on how to do it.
- Stuff the presents in your Santa Sack and tie a pretty bow at the top!
*Note: All designs to be used for personal use only. Please contact us if you would like a license to use this design for reproduction.
a passionate recreation coordinator by day, crazy farm mama of two by night. i live outdoors: growing my own food, camping and hiking with my border collie with two active kids in tow. when I’m not writing, I’m experimenting with recipes, and crafts – or anything else that might keep the monkeys entertained.
Leave a Reply