
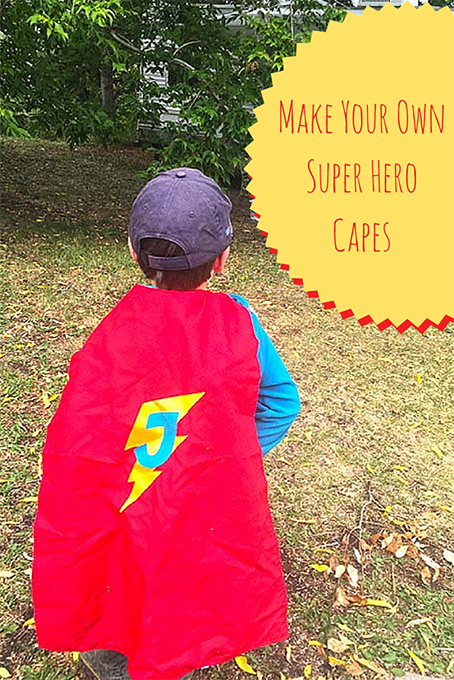
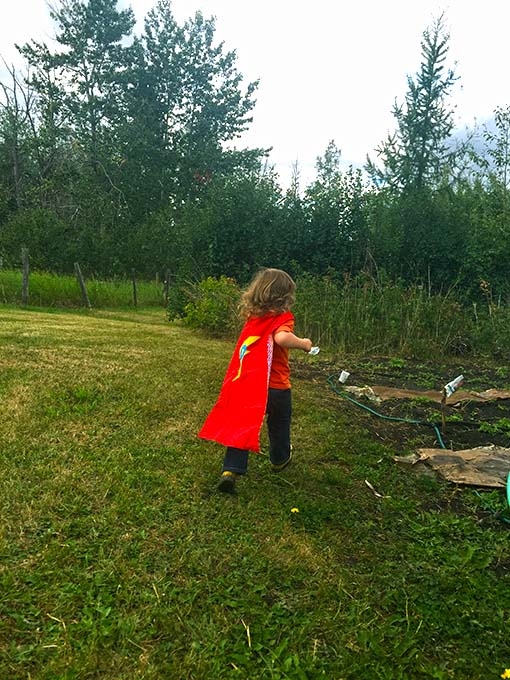
Faster than a speeding bullet, it’s Super J……Flying high in the sky, it’s Super P!
When we went to pack my kids up for the big move, each of them chose a few toys to bring with them. Both of them chose their capes.
The Super Hero capes arrived in the mail several weeks earlier from Andrea, to celebrate their birthdays. It’s been a few months, but they have yet to lose their appeal to both of my kids. They love to pretend to be superheroes saving the world, or flip the capes over to the reversible side where they can be pirates, or magical rainbow creatures.
I love them, because they make them use their imagination and there is never a dull moment listening to what they have come up with next. The capes have been everything you can imagine from tent covers to Super Dogs and table cloths. My husband and I have even picked up the kids on our shoulders and flew them around like the super heroes they are.
So looking for a great gift that is going to spark imagination & creativity… here it is… Andrea explains below how to make your very own!
Make Your Own Superhero Cape


To make a cape for your little superhero, you only need basic sewing skills. You can do this, Super Creator!
I can easily complete one of these in an evening after the kids have gone to bed. I found it helpful to make a template to cut out the front & back of the capes. I grabbed a piece of craft paper from my daughter’s easel, drew on the correct lines and cut it out. It stays rolled up nicely when not in use. The tutorial I work from is Super Hero Capes from How Does She? I like to add a custom logo to one side of the cape.
What You’ll Need
- 1 yard each of coordinating fabric for the front and back – I use a patterned on one side and solid on the other
- Small scrap of yellow fabric for the lightning bolt (approx. 9″ long x 7″ wide)
- Small scrap of fabric in your colour choice for the child’s initial (approx. 5″ long x 4″ wide)
- Heat n’ Bond or other similar fusible fabric
- Iron
- Matching thread
- Basic sewing supplies
- Avengeance Mightiest Avenger font (free)
- Lightning bolt image (download one from Google images)
How-To
The first step is to cut out your cape front & back following the tutorial from How Does She? or using your template if you prepared one as I have.
The next step is to print out your lightning bolt & initial in the correct size. I do the bolt 8″ long and the initial about 3.5-4″ tall. If you have a Cricut Explore, this step is easy to do in their software. Once you have printed your shapes, cut them out.
You will need to adhere the fusible fabric to your 2 scrap pieces following the package directions. Once this is done, pin your shapes to the fabric and cut them out. Once this is complete, lay out your solid fabric and place in the centre about 1/3 of the way down the cape. Iron on following the package directions. Next you’ll want to applique with your sewing machine. Just do a very small & tight zig-zag stitch all the way around the letters. This helps keep it attached and adds a little pop.
Once this is complete, put your fabric right-sides together and pin. Sew together, leaving a 3″ opening to flip at the bottom of the cape. Snip your corners & around the neck. Flip it, poke out the corners and sew a finishing seam all the way around the cape, ensuring that you close the gap.
Voila! You have a gorgeous cape – the perfect gift! You can custom the fabric on the one side to reflect the Super Heroes taste. On the flip side of the ones for Holly’s kids, I added Jake & the Neverland Pirates fabric for Mr J and rainbows for Miss P. The owl cape was another one I made for my friend’s son.
Now get out there & fight some crime!
Andrea can always be found with a new craft in front of her, a form of technology on her right and a coffee on her left. This is how she survives suburbia with her two crazy toddlers in tow.
Leave a Reply